Home » Kevin Vitali Massachusetts REALTORS-Real Estate Blog » Home Improvement » 11 Costly Mistakes When Installing Laminate Floors
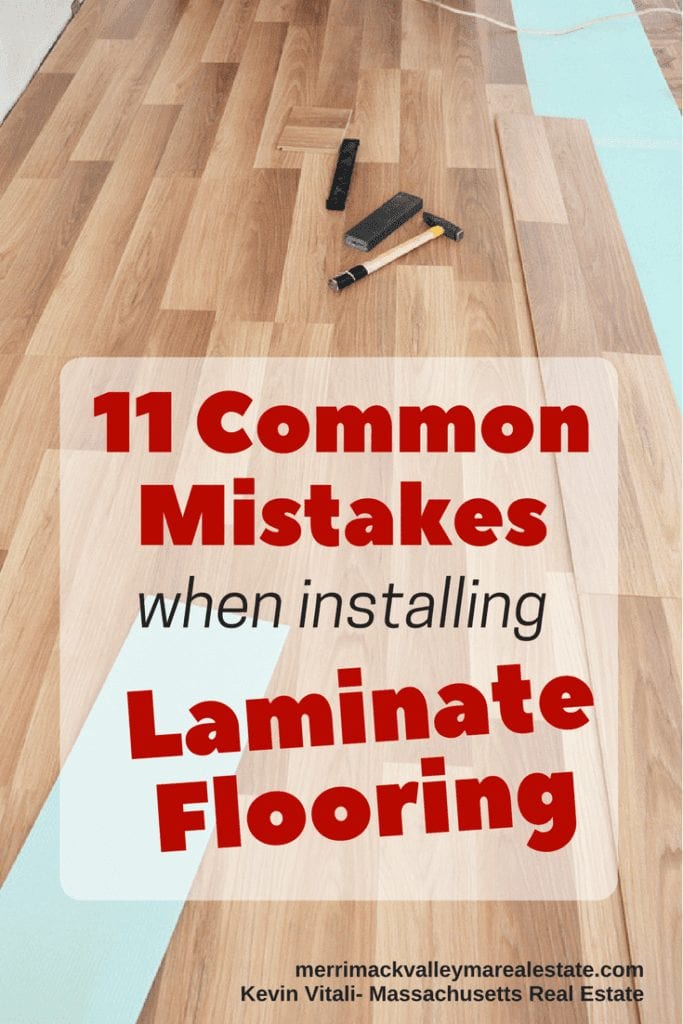
11 Costly Mistakes When Installing Laminate Floors
Laminate flooring has grown in popularity over the past decade or so. Simulation of exotic woods and patterns combined with its cost-effectiveness makes it an option for some homeowners over hardwoods.
Because of the ease of installation, laminate floors can be the DIY’ers flooring of choice. It also makes it a great choice to do a quick flooring makeover when preparing your home for sale. A new laminate floor installation can capture a buyer’s attention.
As a real estate agent, I see many DIY’ers install laminate floors in their home. Unfortunately, if you don’t learn how to install laminate flooring properly, problems arise pretty quickly, if not immediately after installation.
This article will cover common laminate floor installation mistakes that can turn your new flooring installation into an unsightly mess.
Nothing is worse than a home seller boasting newer laminate floors, only to arrive to find soft spots, buckling, large gaps, bubbling or poor, unfinished transitions in the installation.
What is Laminate Flooring?
Laminate flooring is a synthetic image laminated to a wood substrate with a laminate protective coating over the top. It’s essentially a photograph on a synthetic material. It can simulate wood, stone, ceramic, painted tiles and more….. Modern laminate flooring will even add texture, giving a very realistic look to your floor.
The laminate flooring planks sit on the subfloor and interlock. In most cases, they are meant to float on the subfloor and are not attached to it.
Common Laminate Flooring Installation Mistakes To Avoid
Installing laminate floors is certainly within most DIY’er’s skill set. But take the time to learn the common laminate flooring mistakes for a great, long-lasting installation of your new floor.
#1 Choosing to Use Laminate Floors in the Wrong Areas
The one thing to remember is laminate flooring is not great regarding moisture. To avoid common laminate floor installation mistakes, choose your location wisely. Kitchens, baths, entryways can all be problematic with bucking and bubbling when the underlying wood substrate has absorbed water.
While some products say they are water-resistant or you can seal laminate floor edges with a sealant, you may find better flooring choices for high-moisture areas. Lately, manufacturers have a premium product with a waterproof substrate. While laminate floors may seem a less expensive option upfront, it will cost you more in the long run as it will need to be replaced more often.
#2 Not Sealing The Laminate Against Moisture
People use laminate in kitchens and baths all the time. Many people are torn on whether laminate is a good choice for bathrooms and kitchens. Primarily the substrate for laminate floors is highly susceptible to water penetration.
If you do choose to use laminate in high-moisture areas, take the time to learn how to seal the joints.
There are several options to prevent water penetration, though I don’t think most manufacturers would recommend it. Sealing as mentioned above. Gluing with waterproof glue is another, though the floor is meant to expand and contract. Or, using a silicon caulk between each seem as you are installing the floor is another option.
Remember, the substrate is usually a compressed board product; once there has been water penetration, it could lead to trouble. Even the littlest spill from over-watering a plant, a fish tank, water bowls for your pets etc… can be problematic if left unattended to.
#3 Not Letting Your Laminate Floor Planks Acclimate
This is important with any product susceptible to humidity, expansion and contraction. Get your materials into the area where you are installing it so the flooring can acclimate to the temperature and humidity of the work area. Follow your manufacturer’s recommendations, but a good rule of thumb should be 48-72 hours.
By acclimating the product, your floating floor will have less match the humidity and temperature of the room and have much less expansion and contraction during the installation.
Not doing so may cause buckling or unsightly gaps in your laminate flooring. Such a simple step in the laminate floor installation process can save you from a poor finished product.
#4 Not Making Sure Your Floor Is Level
A huge pet peeve of mine is walking across a laminate floor that looks like stone and wood and has soft spots. Your subfloor needs to be perfectly level to prevent soft spots. Soft spots can also lead to the edges receiving more wear and tear than they should.
Whether you are applying over concrete, plywood or composite, make sure your floor is level.
There should be no more than 1/8 of an inch tolerance (see #4). A combination of grinding, sanding, and self-leveling material will get your floor level for properly installing your laminate floor planks.
#5 Not Using Underlayment During the Installation
Because laminate flooring is so thin and the substrate offers no structural integrity, it bends and flexes easily. Underlayment is a thin layer of foam that absorbs any small deviations in the subfloor below. It will cover any dips or high spots in the 1/8-inch tolerance we discussed in problem #4.
Underlayment will also absorbs sounds from walking over the laminate floor.
Choosing the right underlayment for your laminate floor installation is critical, considering the location and the subfloor below.
#6 Not Using A Vapor Barrier When Necessary
When there is any chance of moisture coming from underneath, a moisture barrier is a must. So it should go without saying that adding laminate floors in your basement family room will need a vapor barrier. Consider vapor barriers that also act as underlayment as well.
If you’re laying your laminate floor over a wood subfloor on the first or second floor, skip the vapor barrier, as wood is a natural product that is meant to breathe.
#7 Not Leaving Room for Edge Expansion
As I mentioned earlier, a laminate floor is meant to float. It interlocks and moves together. Do not cut your laminate floors tight to baseboards or a wall. When fitting your laminate floor, you must provide a gap for most installations of laminate floors of 3/8’s of an inch. This is the most common reason for buckling!
Also, a separate problem that falls in this category is nailing your quarter round into the floor through the laminate rather than into the baseboard. It doesn’t give your floor a chance to expand and contract.
#8 Not Allowing for Appropriate Expansion Joints
This problem occurs in extremely large rooms or where you are doing one entire level of a house. Any run with anything over approx. 24-foot width or 36-foot length will require an expansion joint or a transition that allows for expansion between each room.
Your floating floor is going to expand and contract. To prevent buckling, you need to give your laminate floor room to expand.
#9 Read the Instructions For Your Laminate Floor Installation
Your manufacturer’s instructions will cover the proper installation of your floors. Proper installation of your new floor is no secret.
Read the instructions first!
#10 Finish the Job
A lot of DIY’ers don’t finish the job. Transitions are left undone, laminate floor is not cut under door jambs, moldings are not properly put back into place, a quarter round is not installed to cover the gap, etc…
Take the time to finish your laminate floor installation correctly.
#11 Taking Care of Your Laminate Floor Properly
Cleaning your laminate floor properly is critical to many years of enjoyment. Avoid wet mopping your floor or even using a steam cleaner. Using a laminate floor cleaner, you spray onto a cloth or pad is best.
Lastly, clean up spills immediately!!
Final Thoughts on Properly Installing a Laminate Floor
Installing a laminate floor as an upgrade in your home is certainly easy enough for a beginner to intermediate DIY’er. But take the time to read the instructions. There is a little more to it than just laying laminate floors down.
Also don’t think laminate floors will replace or have the value of real hardwood floors. For most areas of the home, hardwoods reign supreme.
With any improvement project around the home, think carefully about your investment and how it plays into your home’s resale.
While a laminate floor can certainly spruce up an area with an outdated floor, an improperly installed laminate floor will cost you in the end. No home buyer wants to pay for poorly completed renovation projects that need to be finished or, worse yet…. completely redone.
Video- Preparation Tips For Laminate Floor Installation
Opens in YouTube Video- 1:50
https://youtu.be/3-Yl9k6KfIs
Like almost any project around the house a quality job starts with the proper preparation of the area. This video covers the preparation steps to take before you install laminate floors in your home.
-
- Remove old flooring
-
- Remove nails, staples residue, etc…
-
- Remove baseboards and number to reuse later.
-
- Scrape off caulking off the wall.
-
- Secure any loose spots in the sub floor.
-
- Undercut door jambs.
-
- Sand high spots and fill low spots.
-
- Thoroughly clean.
-
- Lay a QUALITY under layment.
Other Real Estate Resources:
-
- Debbie Gartner 6 Reasons Laminate Floor Popularity is on the Rise
-
- Bill Gassett Improvements That Will Increase Your Homes Value
-
- Paul Sian How Stage Your Home for a Quick Sale
-
- Kyle Hiscock Home Improvements to Avoid For Resale
-
- Property Workshop Improvements That Enhance Your Homes Value
11 Common Mistakes When Installing Laminate Floors is provided by Kevin Vitali a Massachusetts REALTOR located in Tewksbury MA. If you would like to sell your home or buy a new home give me a call at 978-360-0422 and let’s get the process started.
Real Estate Services in the following areas: Northeast Massachusetts, Merrimack Valley, North Shore and Metrowest. Including the following communities and the surrounding area- Amesbury, Andover, Billerica, Burlington, Chelmsford, Dracut, Groveland, Haverhill, Lowell, Melrose, Merrimac, Methuen, Middleton, North Andover, North Reading, Reading, Stoneham, Tewksbury, Tyngsborough, Wakefield, Wilmington, Westford.
Frequently Asked Questions (FAQs)
1. What is the most common mistake when installing laminate flooring?
The most common mistake is not leaving expansion gaps around the edges, which can lead to buckling and damage over time.
2. Do I need underlayment for laminate flooring?
Yes, underlayment is essential as it provides cushioning, reduces noise, and helps smooth minor subfloor imperfections.
3. How long should laminate flooring acclimate before installation?
Laminate flooring should acclimate for at least 48–72 hours in the room where it will be installed to prevent expansion issues.
4. Can laminate flooring be installed in kitchens or bathrooms?
It can, but it’s not ideal due to moisture exposure. If used, proper sealing and water-resistant products are recommended.
5. Why is my laminate floor buckling or warping?
Buckling usually occurs due to lack of expansion gaps, moisture exposure, or uneven subfloors.
6. Do you need a vapor barrier under laminate flooring?
Yes, especially when installing over concrete or in basements, to prevent moisture damage from below.
7. Can I install laminate flooring over uneven floors?
No, the subfloor must be level. Uneven surfaces can cause soft spots, gaps, and long-term damage.
8. Should laminate flooring be glued or floated?
Most laminate flooring is designed as a floating floor, meaning it should not be glued or nailed down.